How to Change the Battery in your TomTom Rider 2
You will need special tools. Torx bit, size 6, which is easily obtainable. But also bits to remove tamper proof screws.
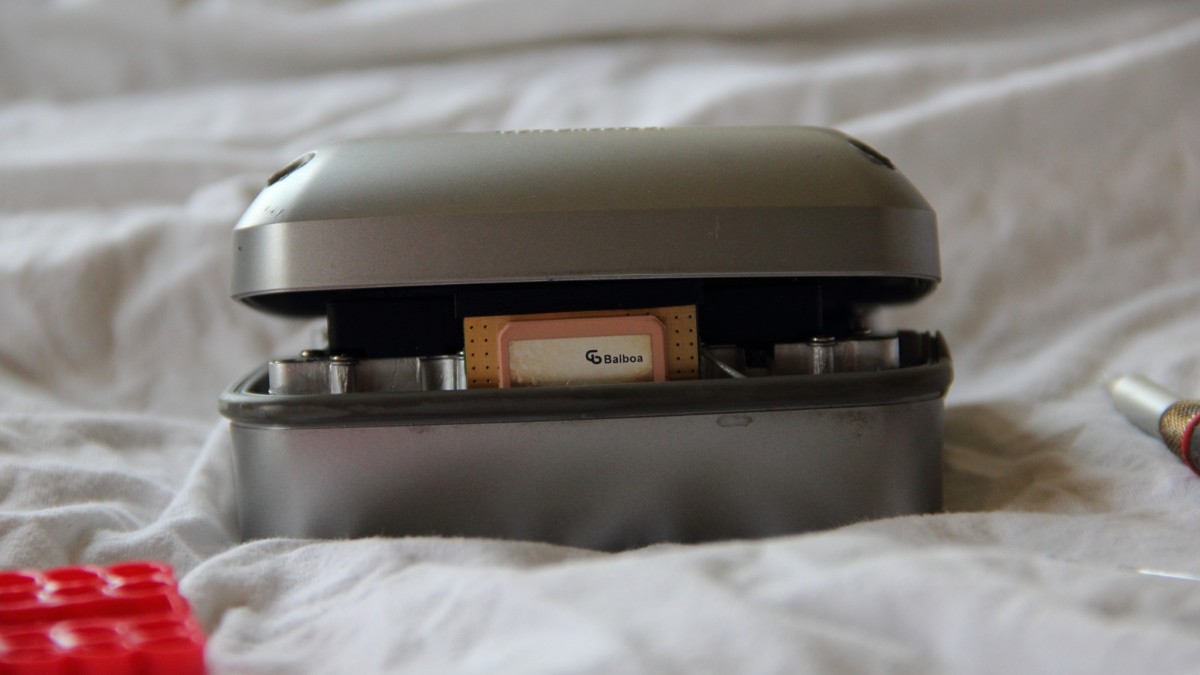
MAKE SURE YOU REMOVE MEMORY CARD BEFORE YOU BEGIN REPAIRS AND ATTEMPT TO SEPERATE THE OUTER SHELL OF YOUR TOMTOM RIDER 2
CLICK ON THUMBNAILS TO SEE LARGER IMAGES
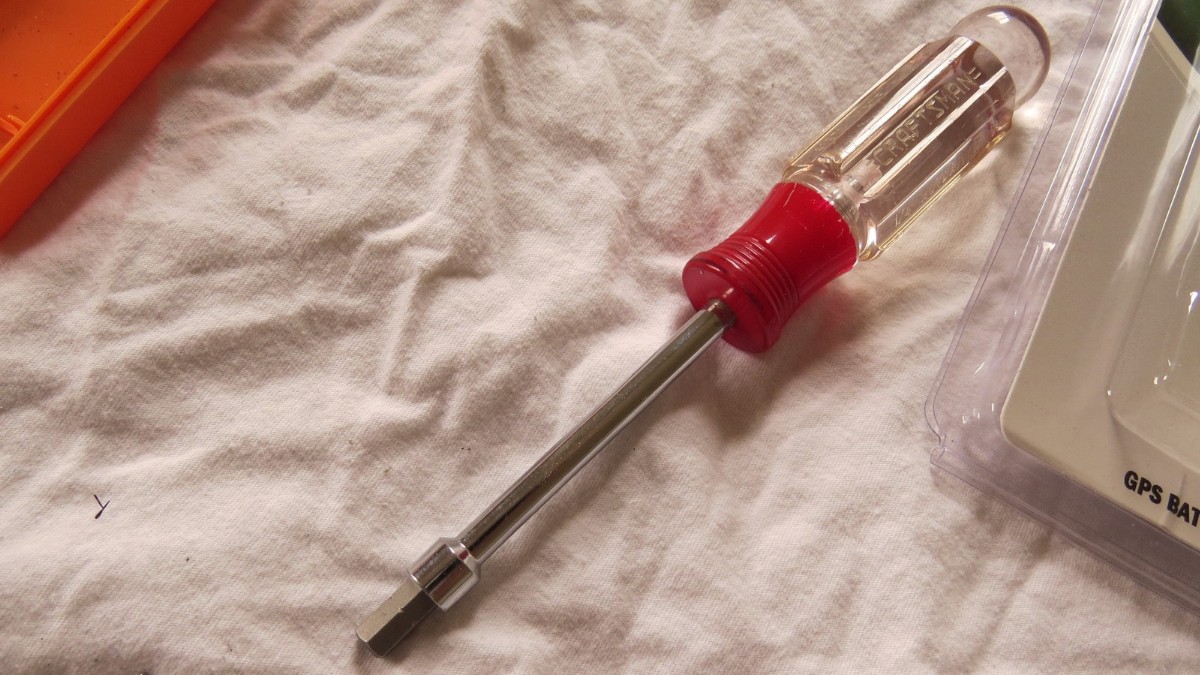
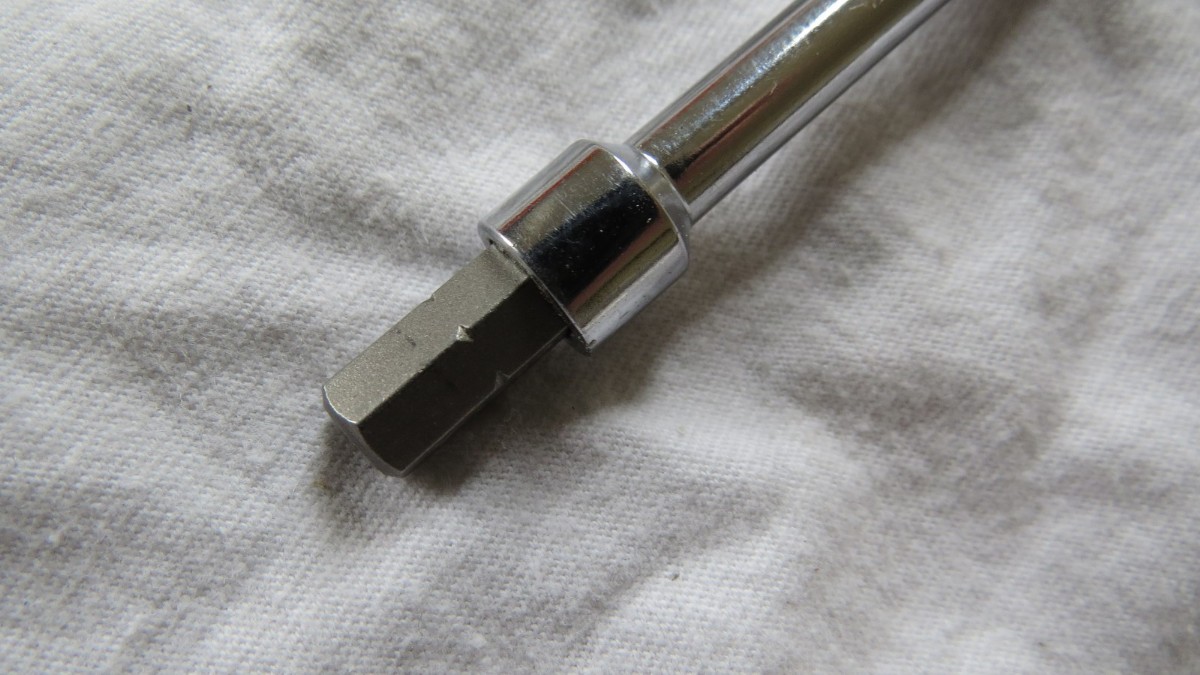
 Bit Holder |
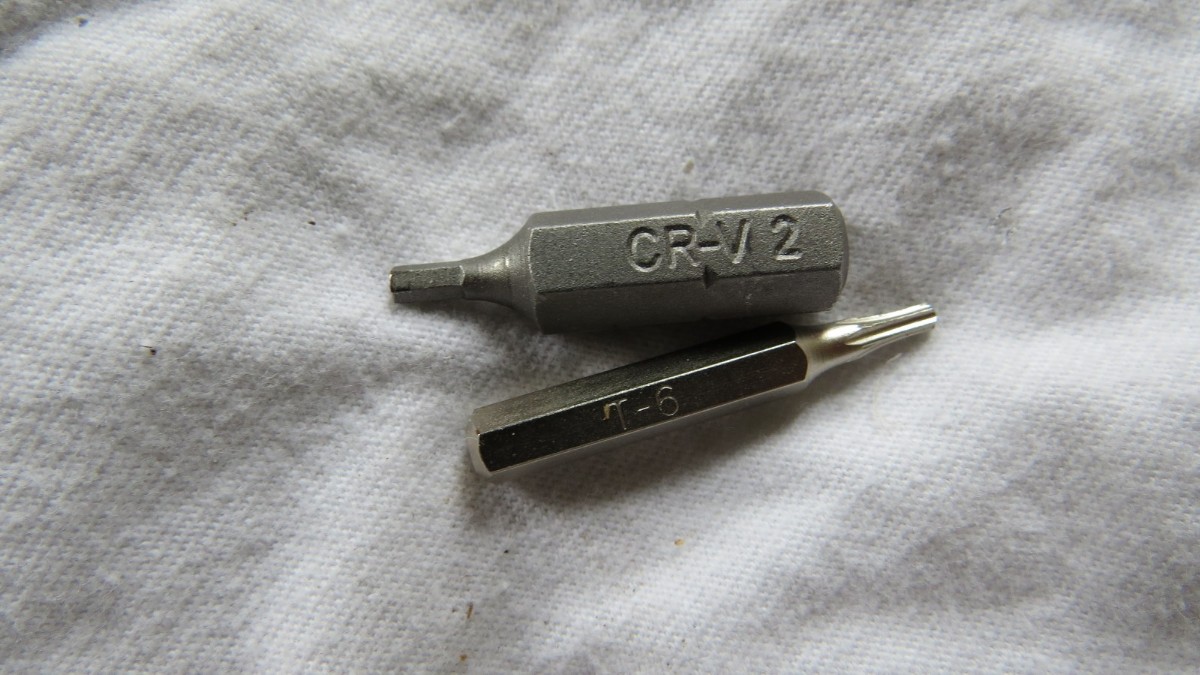 Top bit is tamper proof type and is marked CR-V2; lower bit is standard T-6 |
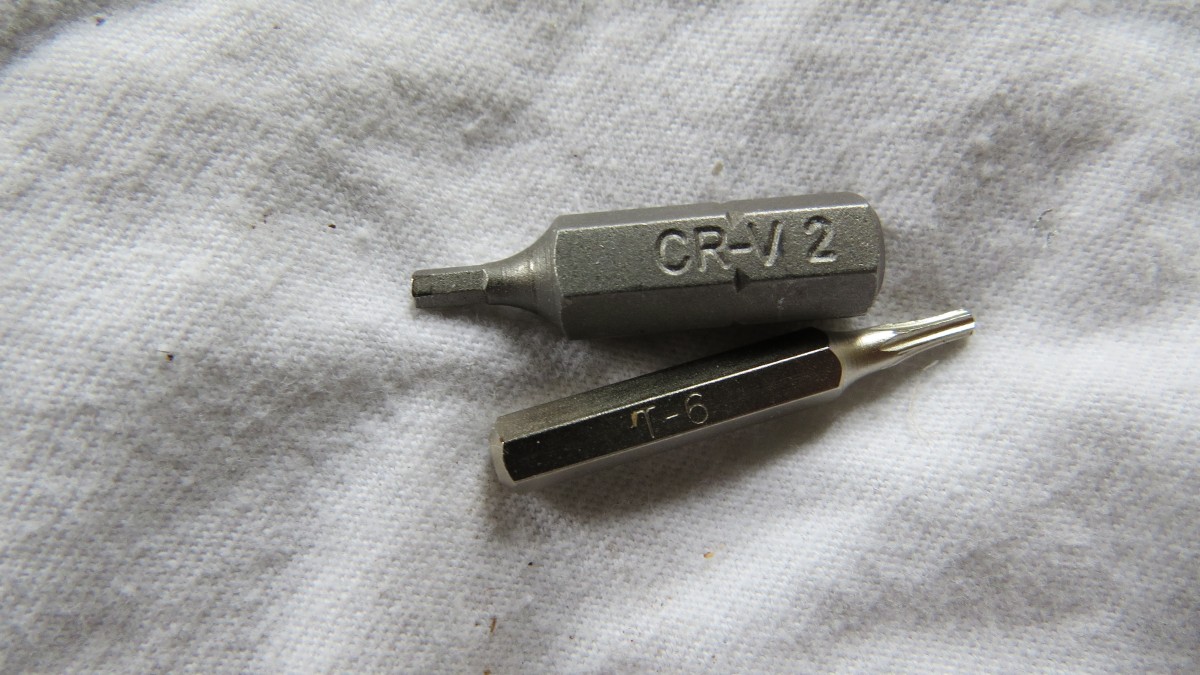 Top bit is tamper proof type and is marked CR-V2; lower bit is standard T-6 |
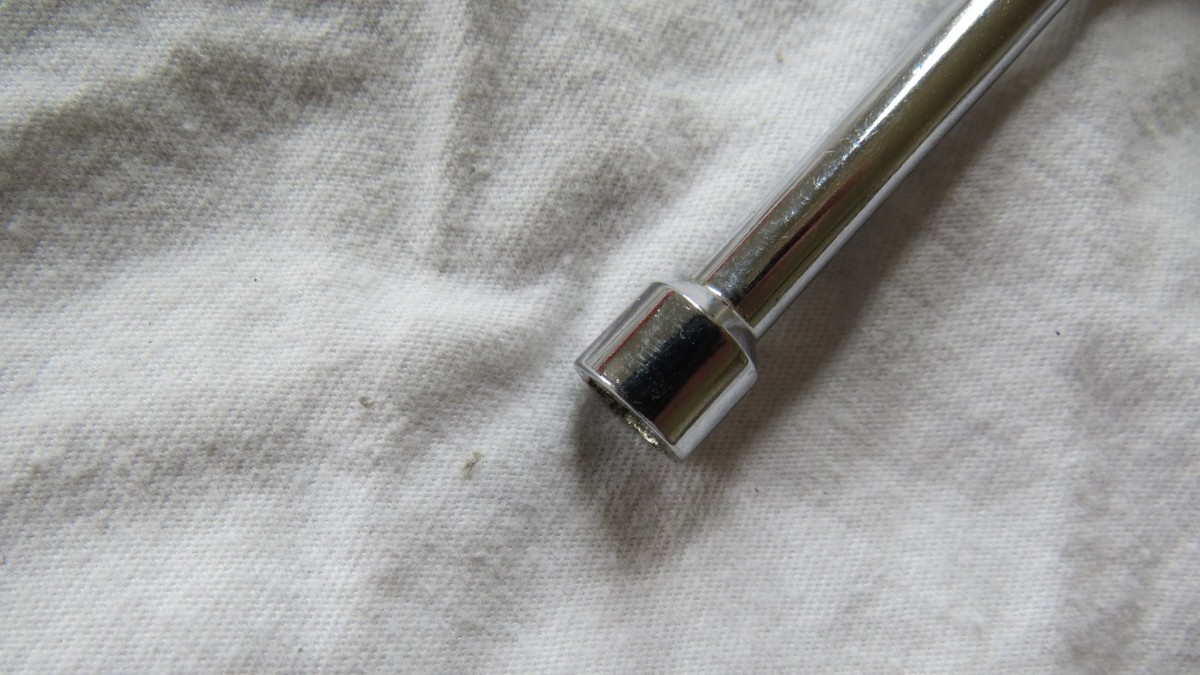
 The top openings in the back of the TomTom Rider 2 were a tight fit - I reversed the CR-V2 bit and hallowed out the opening slightly so I could remove the screws |
 The top openings in the back of the TomTom Rider 2 were a tight fit - I reversed the CR-V2 bit and hallowed out the opening slightly so I could remove the screws |
 |
 |
 Location of tamper proof screws. You will need the CR-V2 bit to remove these 4 screws |
 Standard bit tool set. T-6 came with this set and is necessary to remove the hidden screws. Purchased at Microcenter for around $8 SORRY COULD NOT FIND LINK |
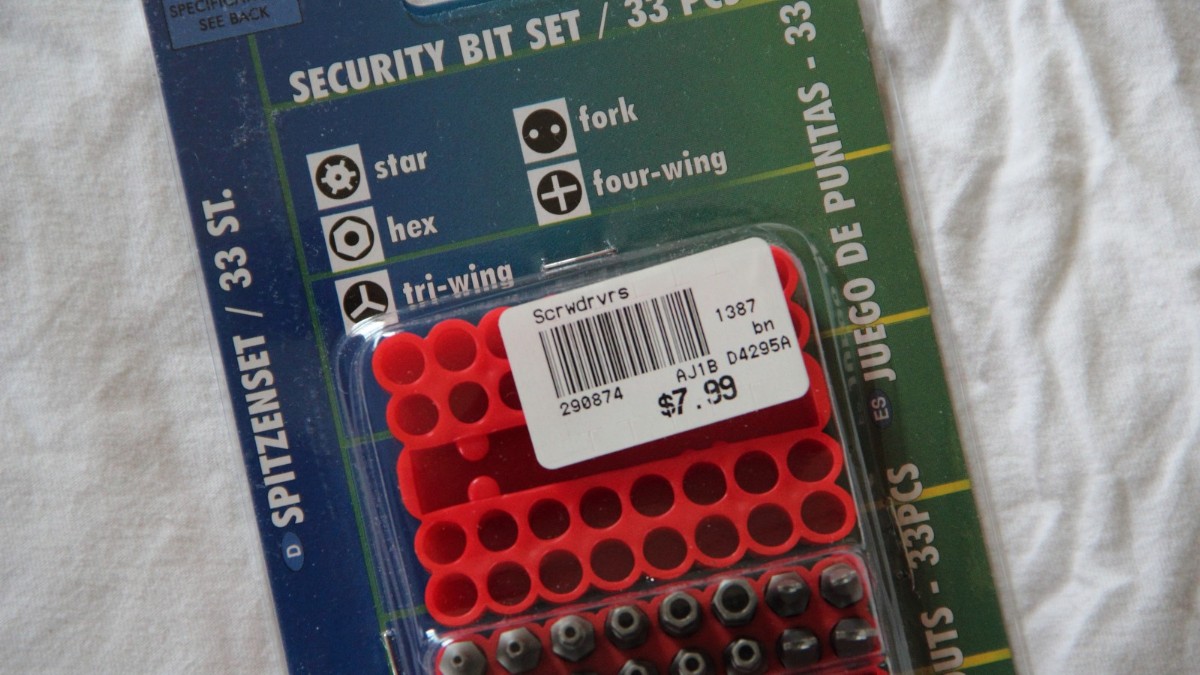
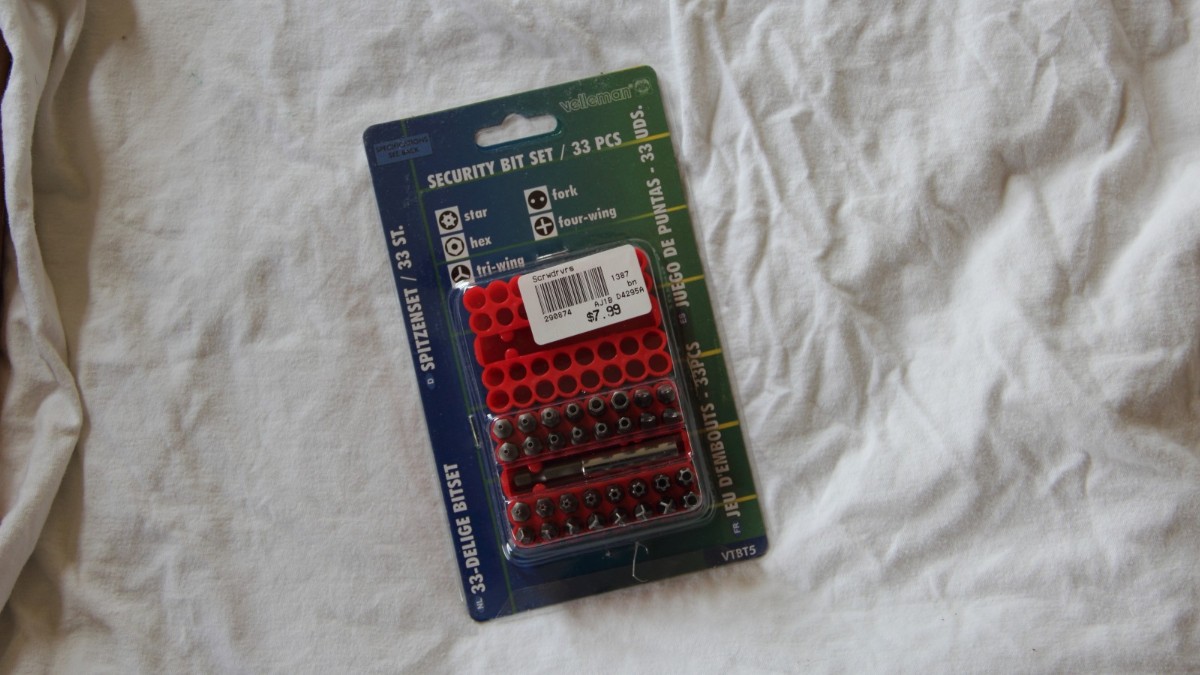 Tamper proof bit set. Cost $7.99. Has the CR-V2 bit needed to remove 4 screws. Purchased at Microcenter for around $8 Link to purchase on Microcenter's website is HERE |
 Tamper proof bit set. Cost $7.99. Has the CR-V2 bit need to remove 4 screws. Purchased at Microcenter for around $8 Link to purchase on Microcenter's website is HERE |
 Small adhesive covers protect two (2) screws. I used a small razor blade to pry them up. Place down on a clean surface with the adhesive side up so you can return them to this position after battery install. Use T-6 bit to remove these 2 screws. |
 Pry off the back beginning at the top. |
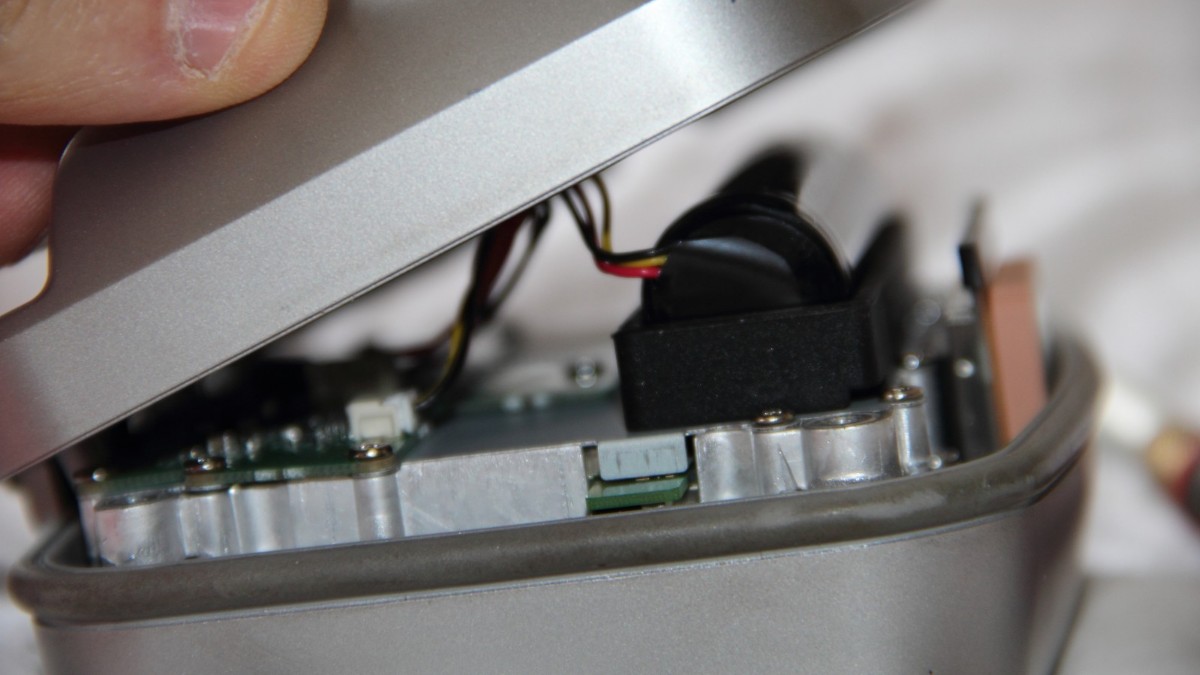 Battery sitting in it's crade |
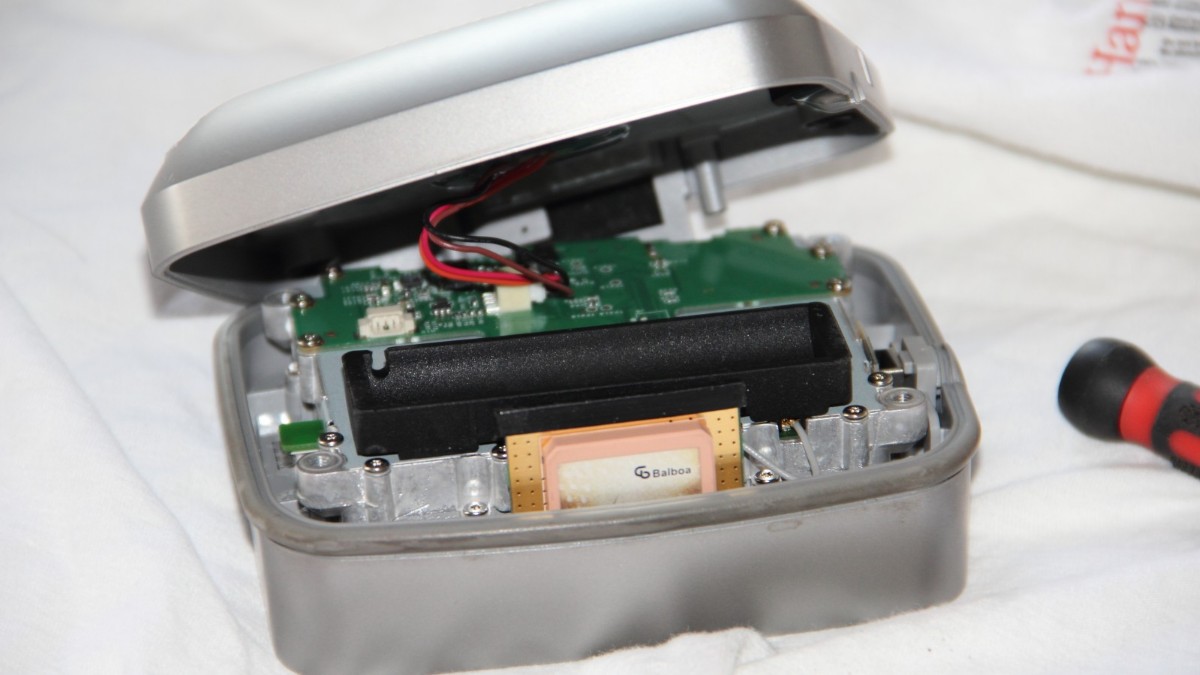
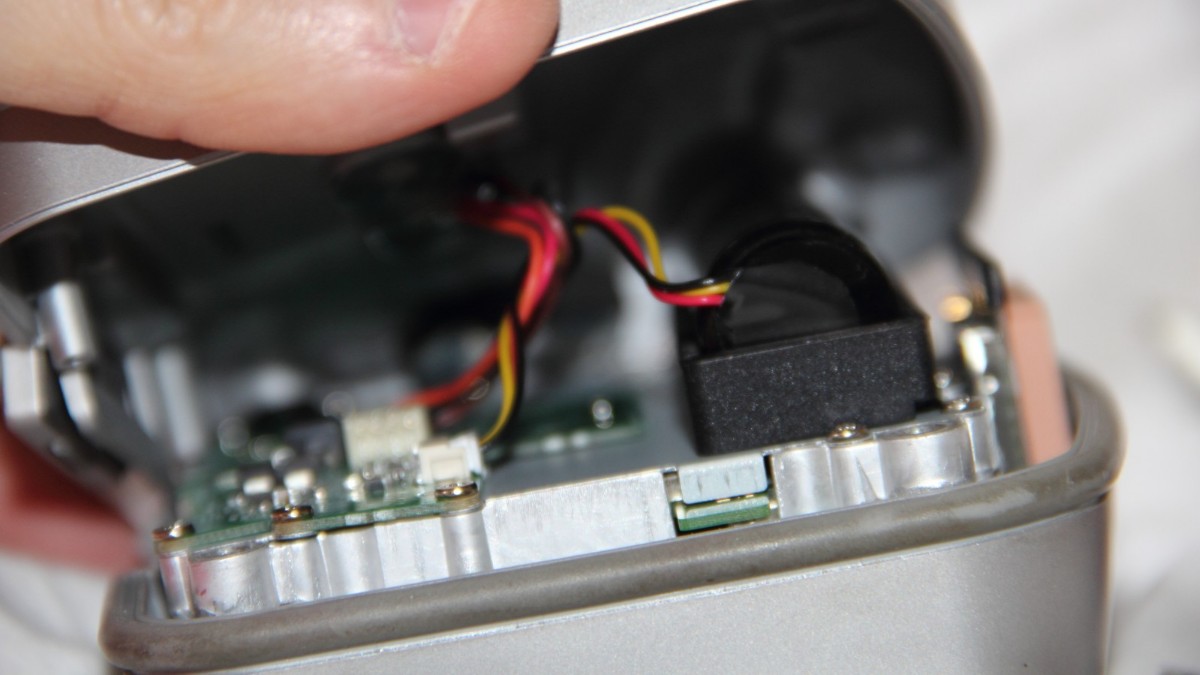 Battery sitting in it's cradle. Connector closest in the picture is the 3-wire connector for the battery. |
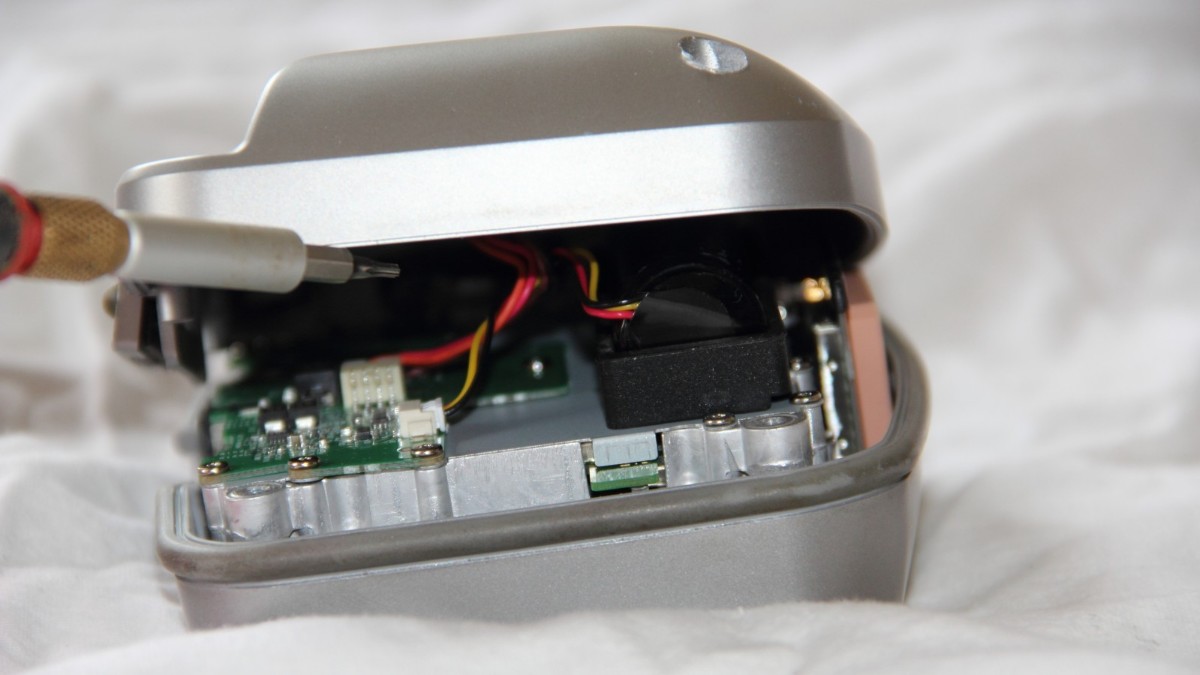 Battery sitting in it's cradle. Connector closest in the picture is the 3-wire connector for the battery. |
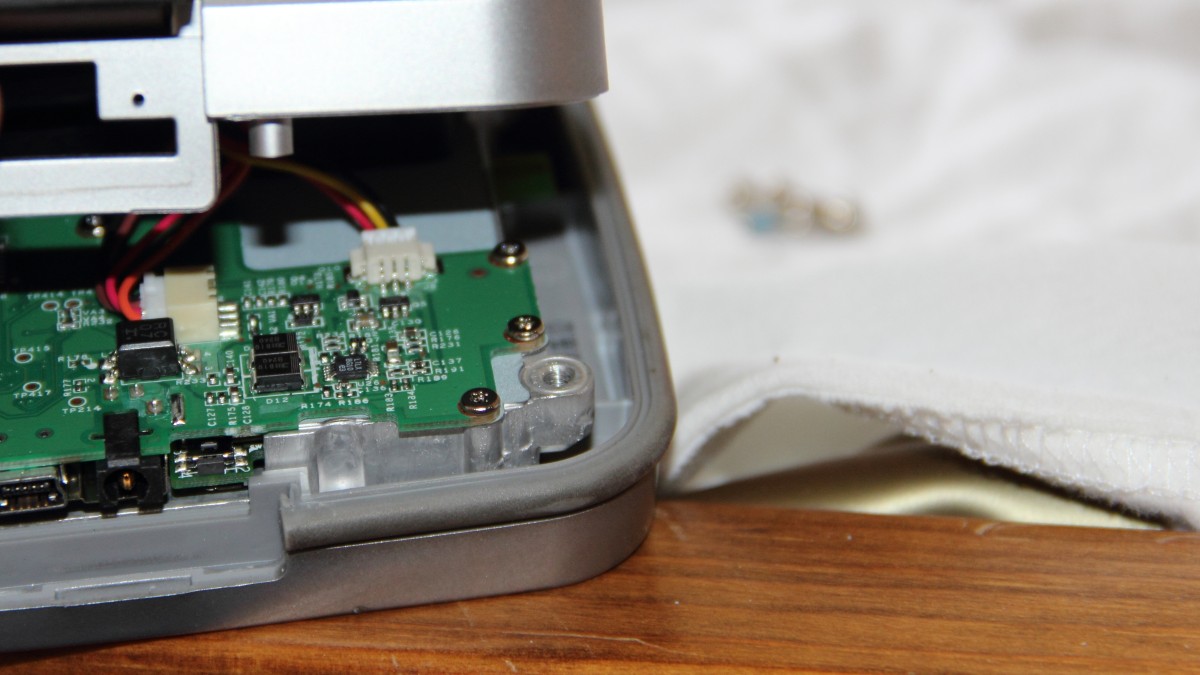 Looking at the battery connector from the bottom of the TomTom Rider. It is the one on the right-side. |
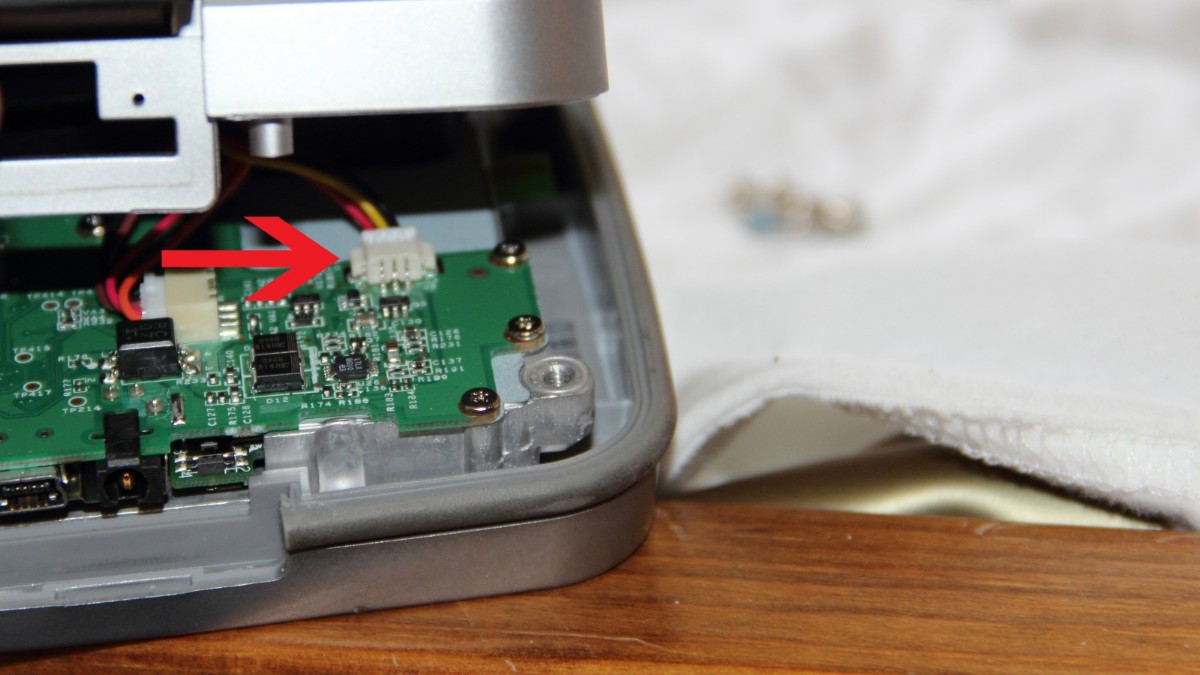 Looking at the battery connector from the bottom of the TomTom Rider. It is the one on the right-side. |
 Looking at the battery connector from the bottom of the TomTom Rider. It is the one on the right-side. |
 Battery cradle after the battery is removed. Notice a small notch in the cradle to help feed the power cable through. |
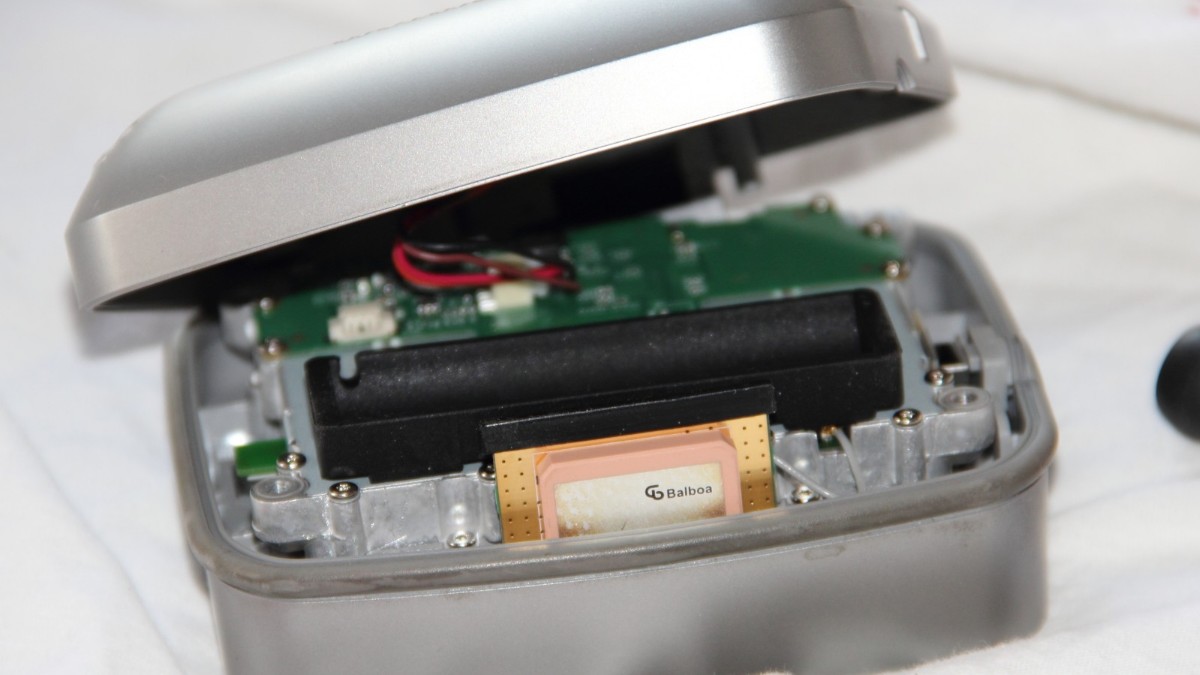 Battery cradle after the battery is removed. Notice a small notch in the cradle to help feed the power cable through. |
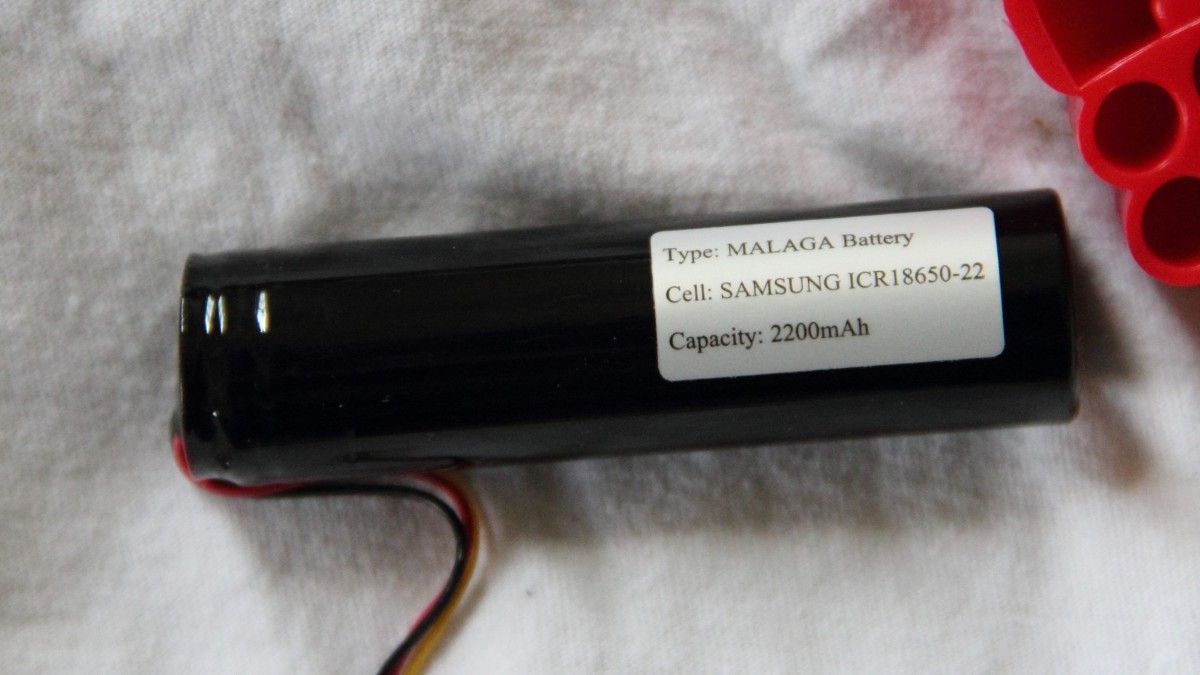 Old battery. I purchased a new battery at batteriesinaflash website. Link is HERE if you want to visit link. |
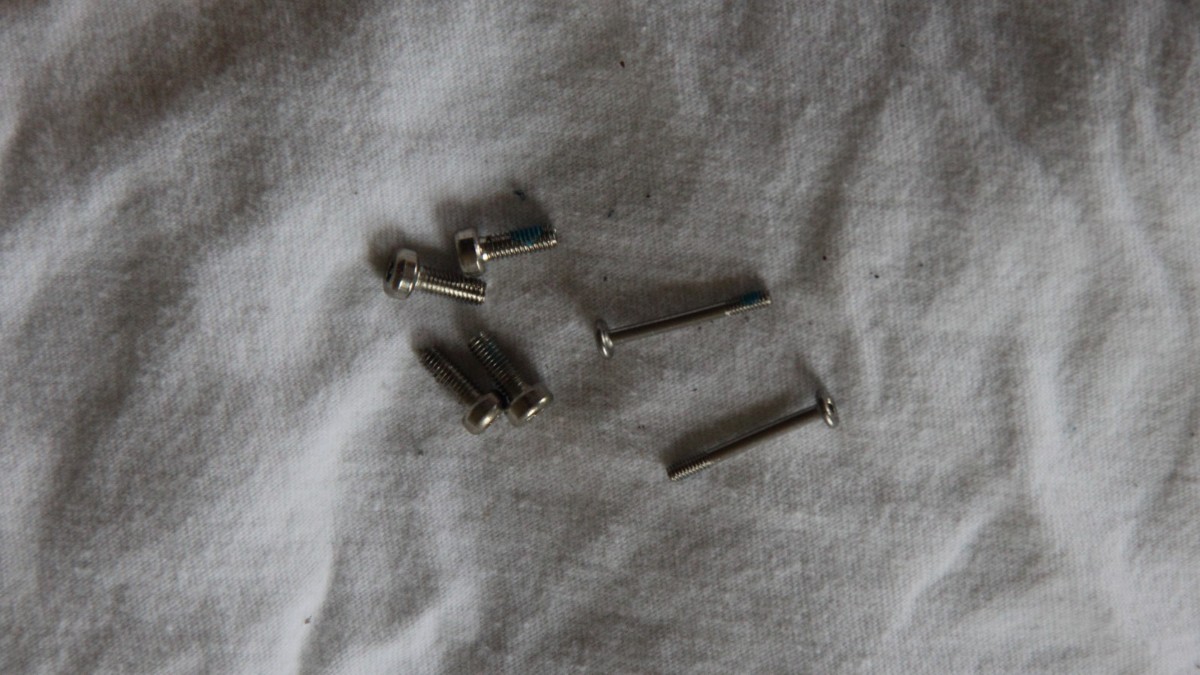 All 6 screws removed. |
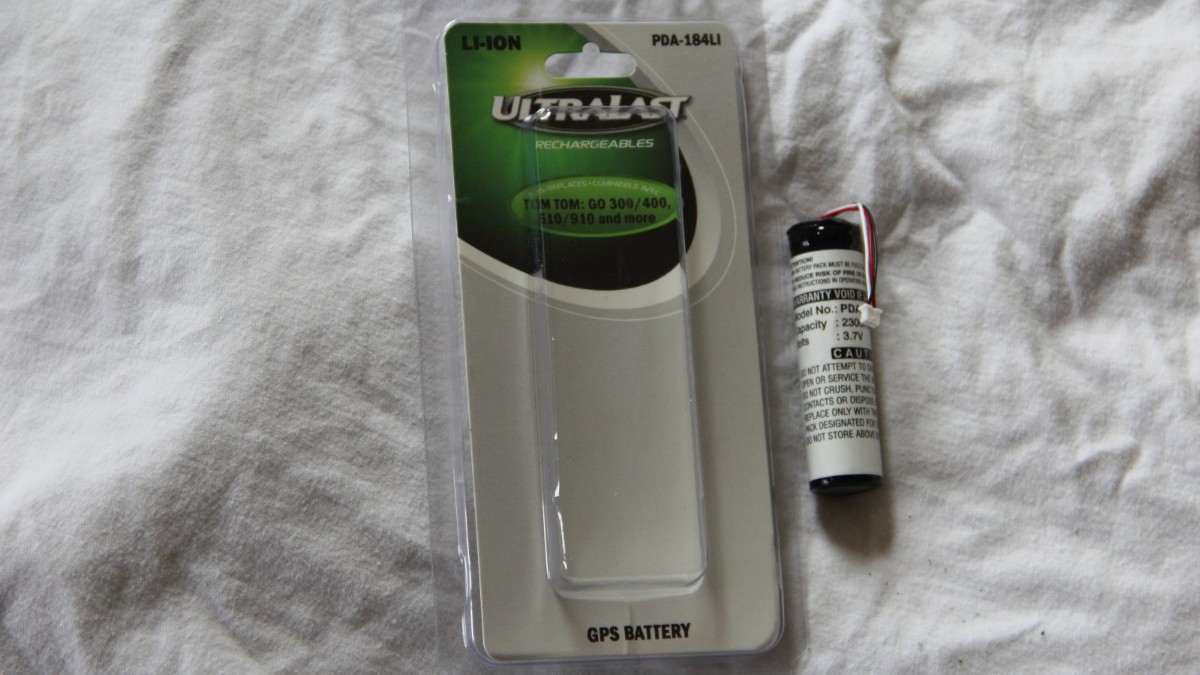 I purchased a new battery at batteriesinaflash website. Link is HERE if you want to visit link. |
 I purchased a new battery at batteriesinaflash website. Link is HERE if you want to visit link. |
If you used this information and it helped you, please email me a message so that I know to keep it updated: admin@knarfoh.com
Home
1 of 1