2007 Bayliner 175 BR - Sound Deadening Material
Sound Deadening Material Install
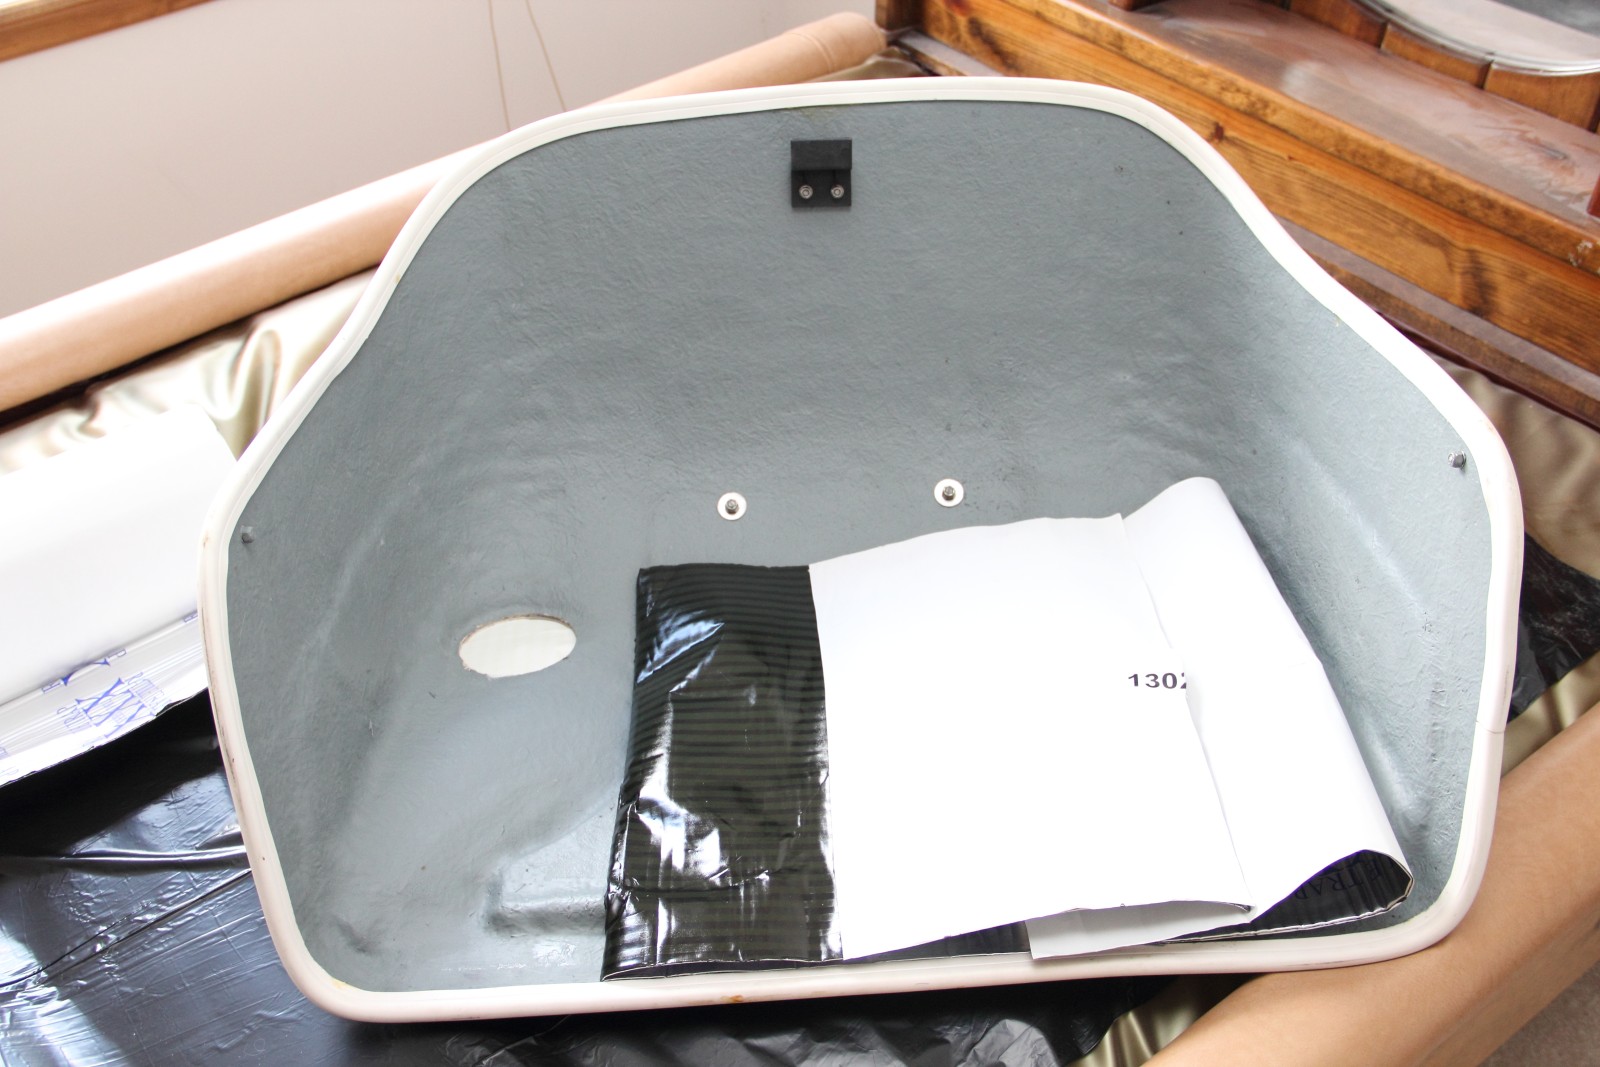
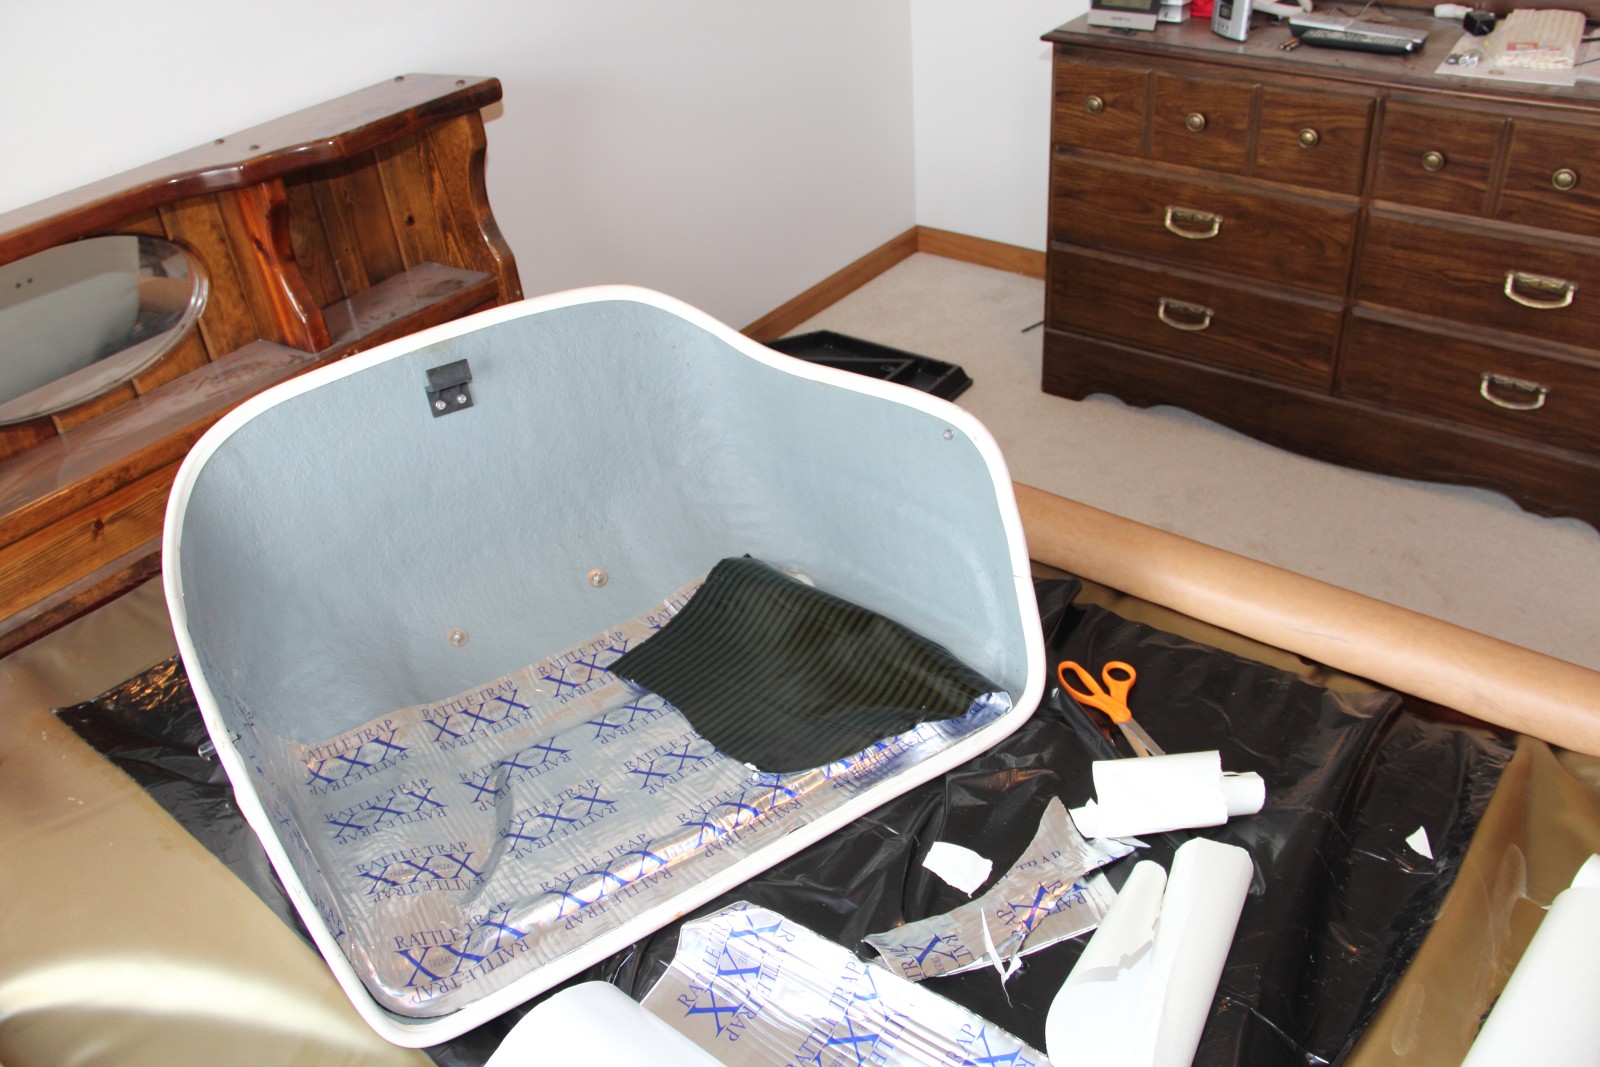
 BLACK TRASH BAG PLACED UNDER THE COVER TO PROTECT THE SURFACE BENEATH ENGINE COVER FROM THE FATMAT RUBBERIZED MATERIAL |
 I WAS STILL WORRIED ABOUT THE RUBBERIZED MATERIAL COMING IN CONTACT WITH UNDERLYING MATERIAL SO I USED SOME OF THE DISCARD BACKING MATERIAL FOR FURTHER PROTECTION |
 |
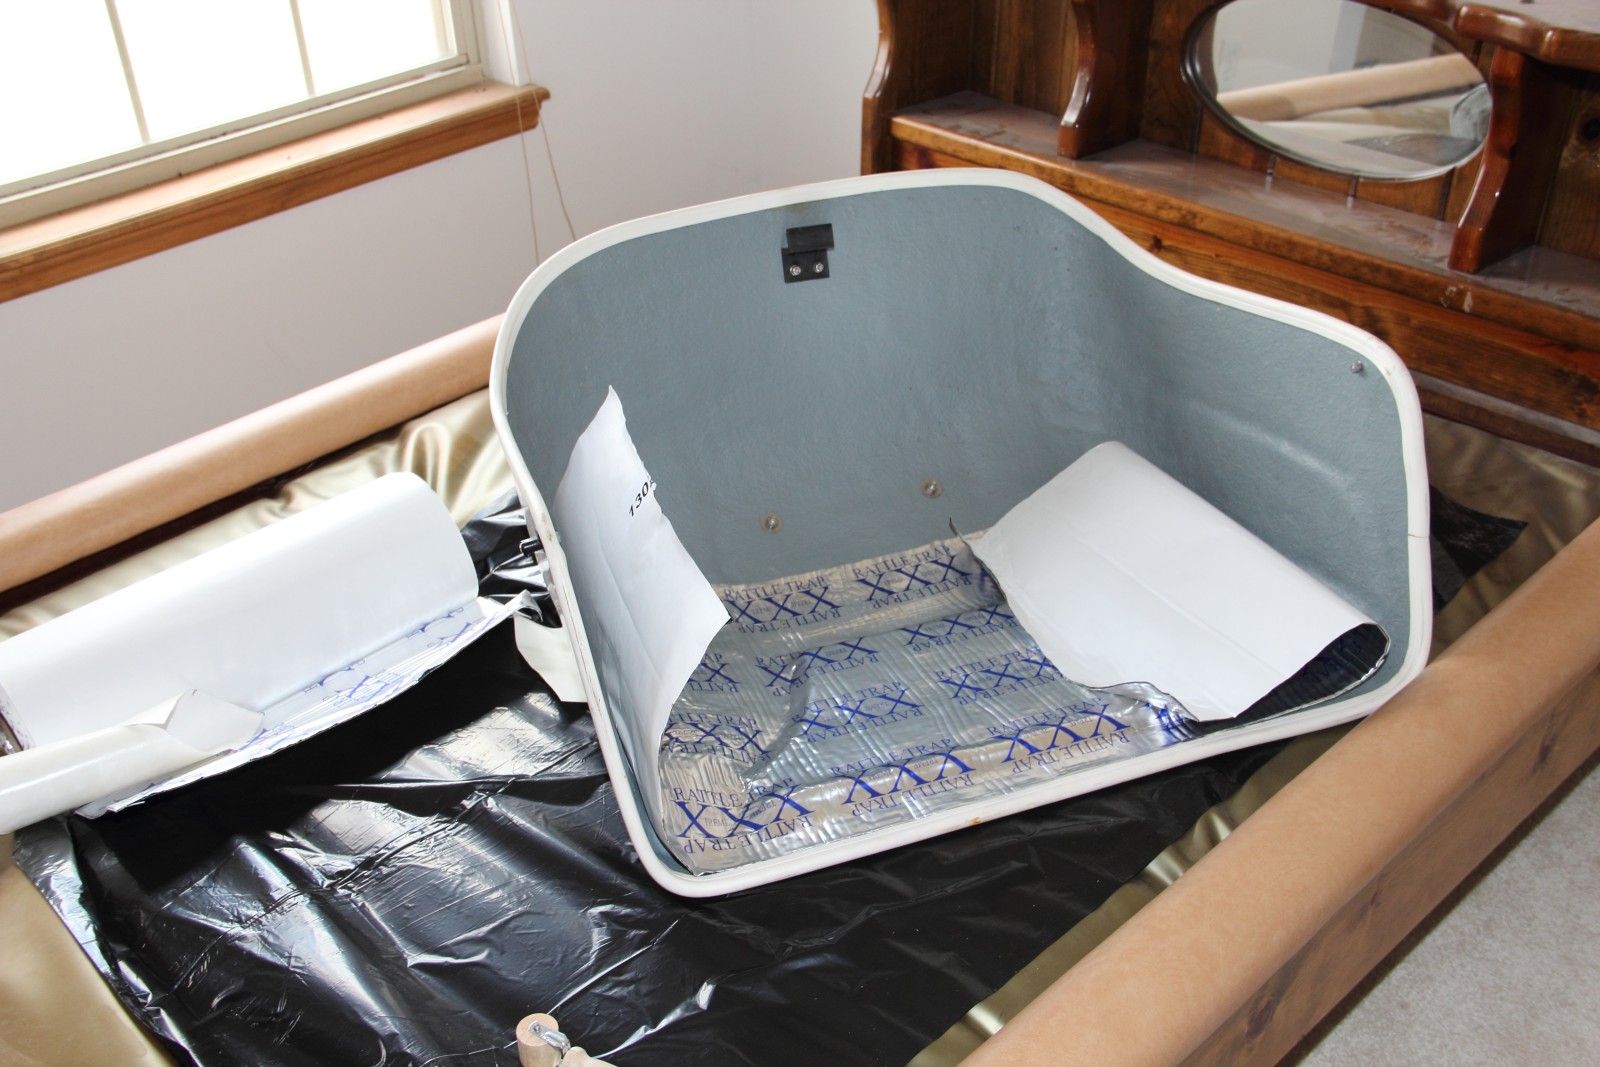 |
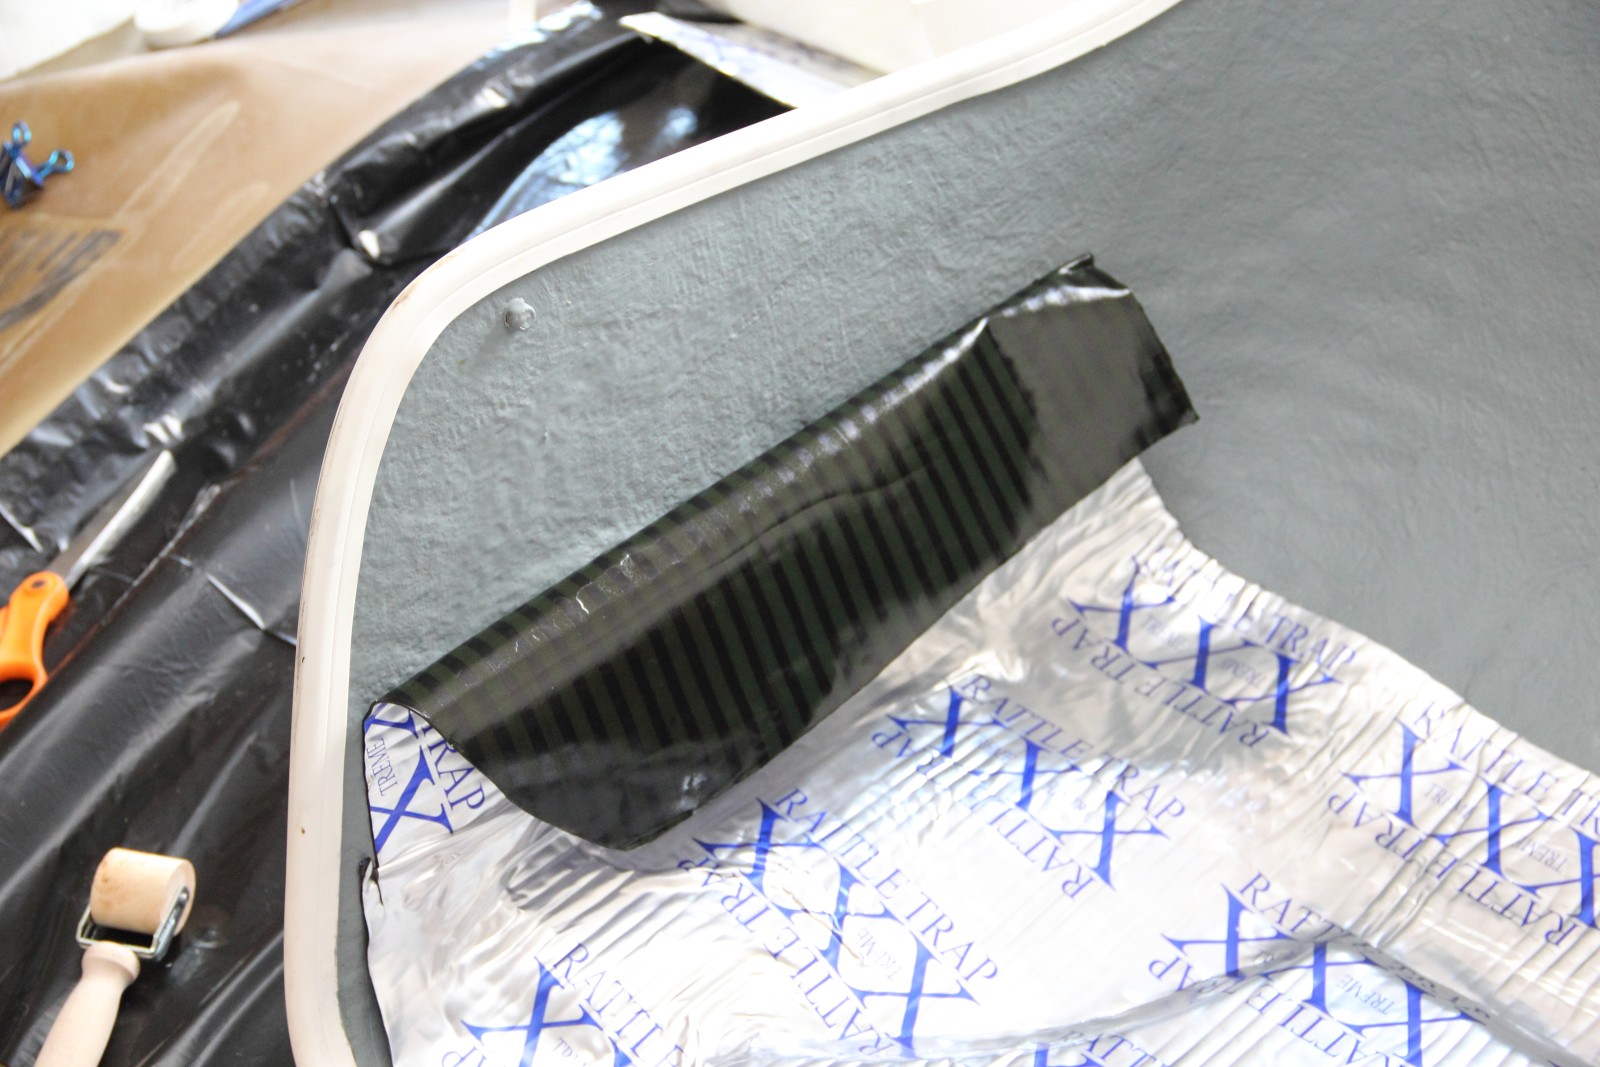 WORKING MY WAY UP THE SIDES |
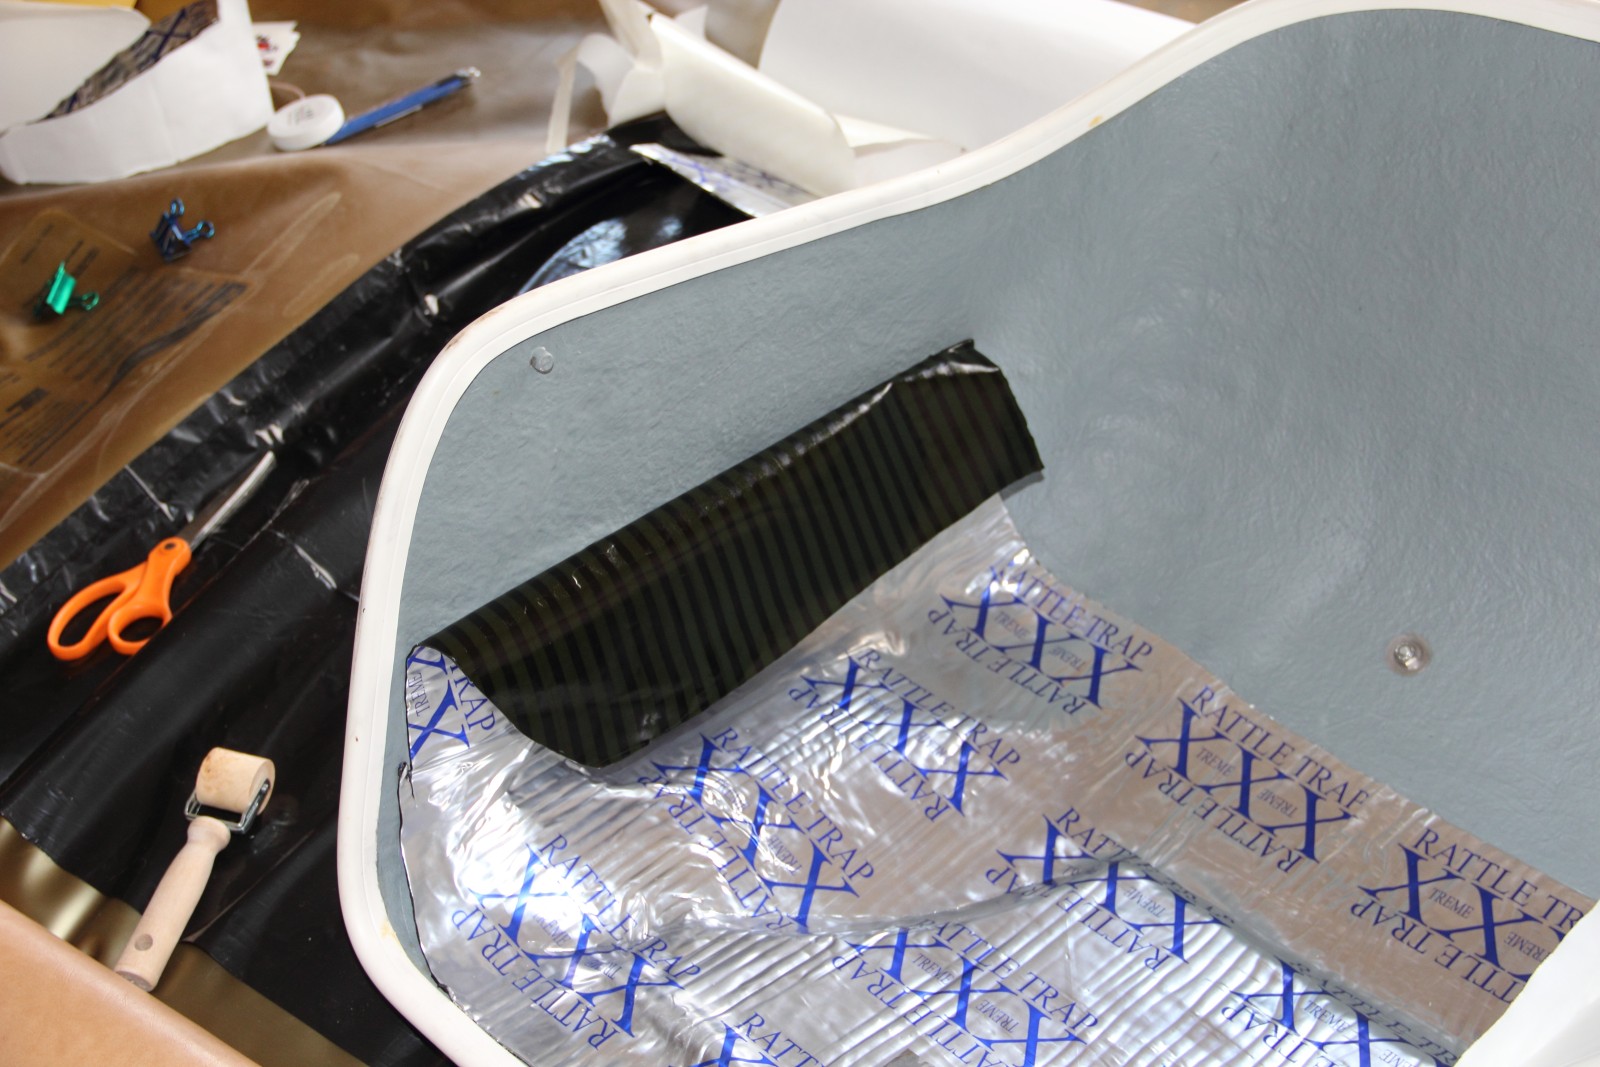 WORKING MY WAY UP THE SIDES |
 WORKING MY WAY UP THE SIDES |
 WORKING MY WAY UP THE SIDES |
Basic Installation
Step 1: Prep the Surface
Clean the mounting surface with a quick-drying, residue-free solvent. Remove all dirt, grease, oil, wax, moisture and rust to ensure a permanent bond between the Fatmat material and the mounting surface.
Step 2: Size and Cut
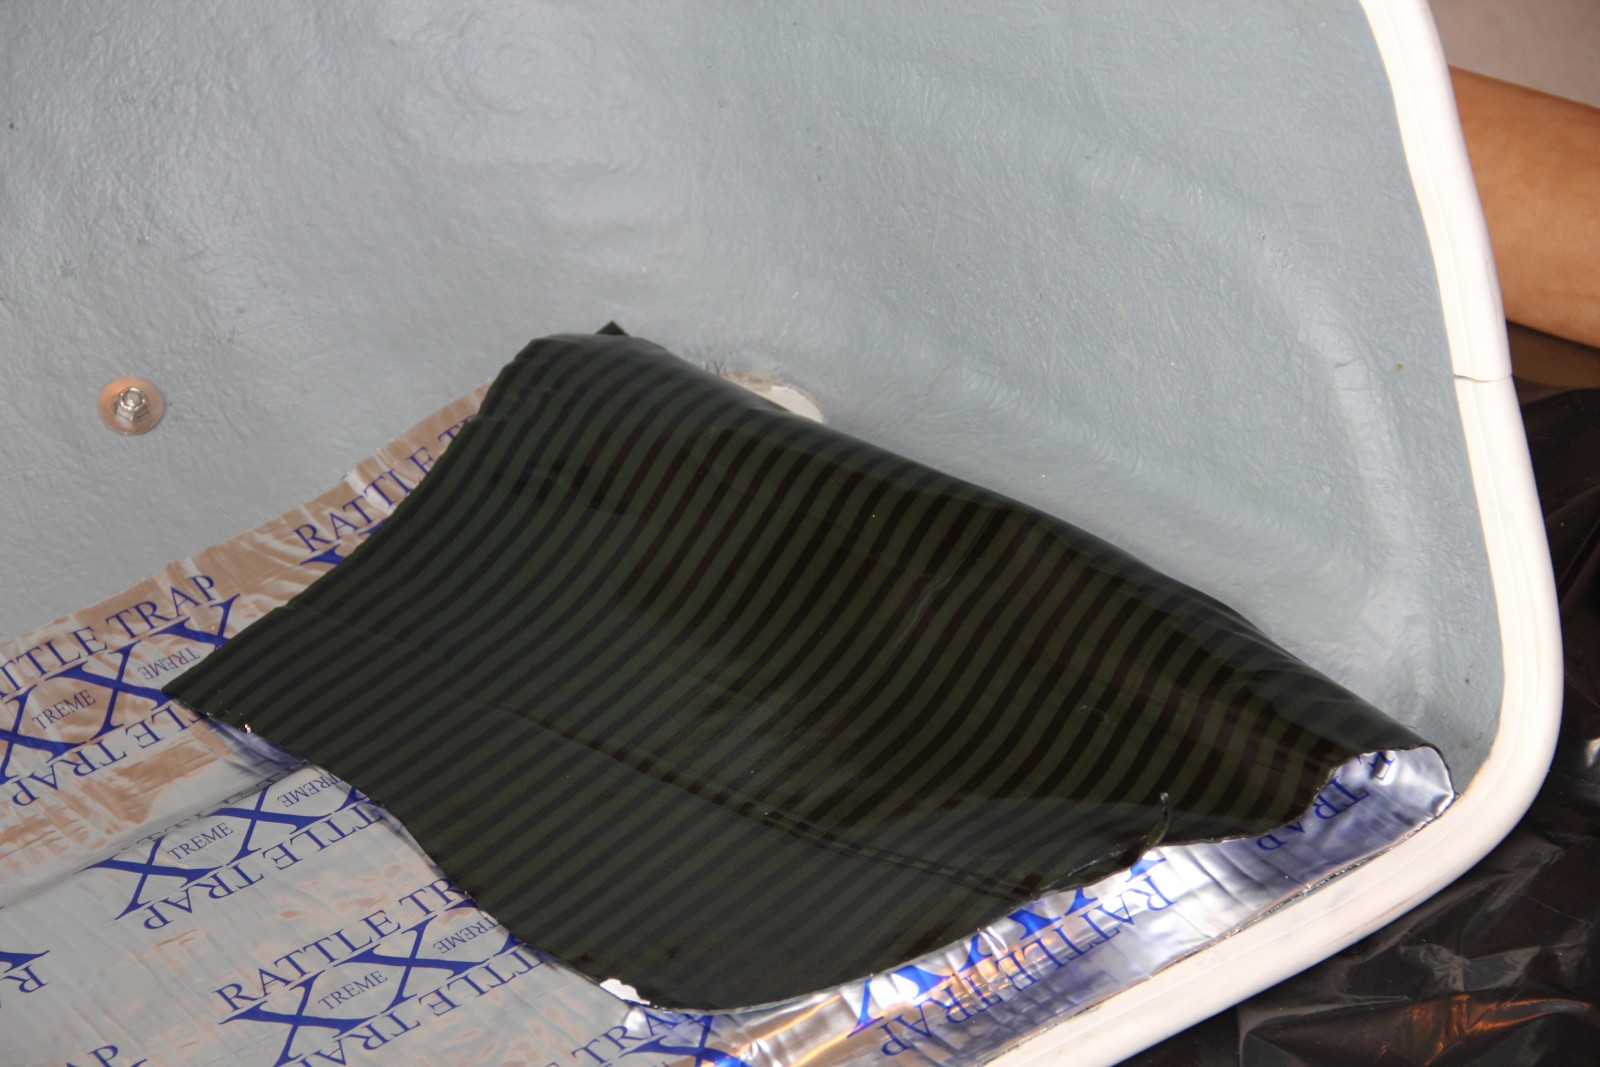
Using a razor knife or scissors, cut the Fatmat sheet to the desired shape and size (you may find a cardboard or paper template helpful.) Remove the release liner from the back of the Fatmat and apply the Fatmat to the prepared surface. On large surfaces, remove the release liner in sections, working your way down and across the panel.
Step 3: Apply the material
Apply the Fatmat to the mounting surface with a Fatmat roller tool. Take the roller tool and work the Fatmat into all contours of the surface. Using a razor knife, poke holes in any air pockets that may have formed between the panel and the Fatmat. Work the air out with the roller tool. Eliminating air pockets ensures lasting adhesion to the panel to give maximum damping effect.